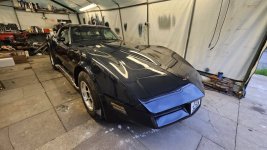
First C3 Vette and luvin it :)

Waynio

CCCUK Member
Its been a pain of a ocuple weeks, this and that going wrong. The set of HT heads i got will not fit. So had to buy gear to make my own up. Then as i didnt check the Dizzy and found the fittings are same as the spark plug end. So ordered another spark plug connector set.

So i ordered some
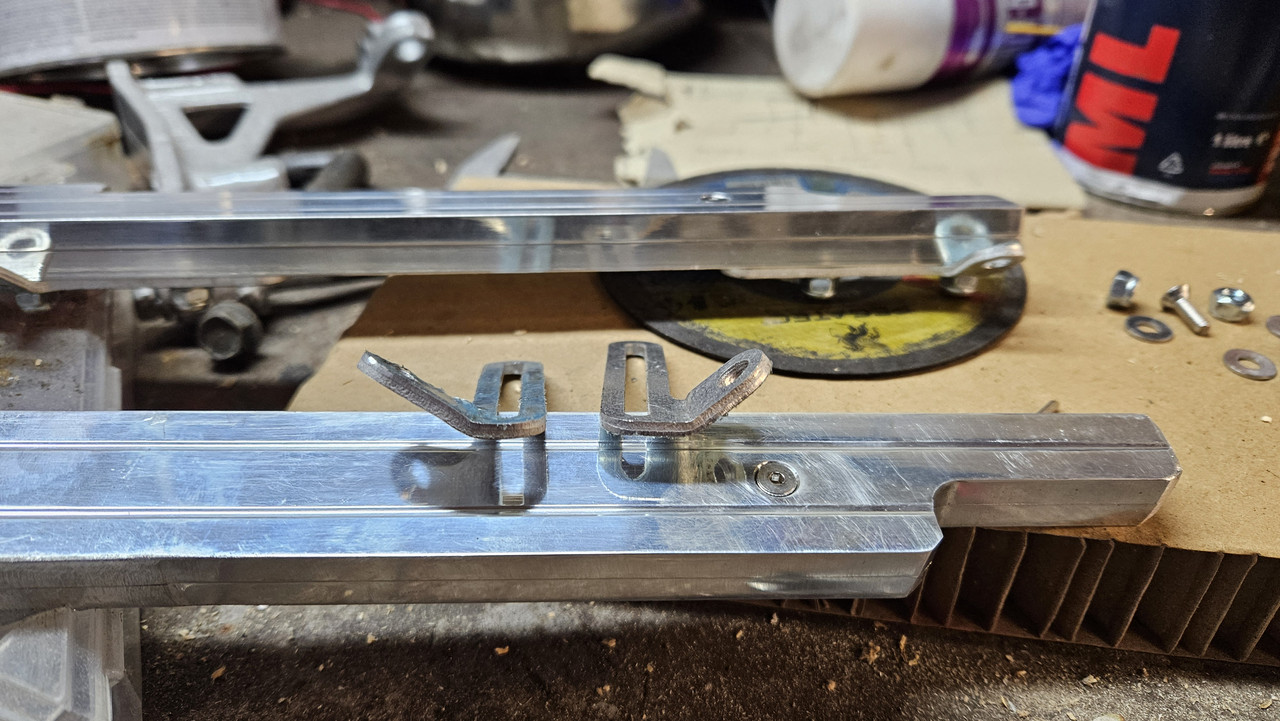
Also the HT lead carriers/holders did not fit, well left three HT leads o close to the headers. So that caused a cut n shut of them


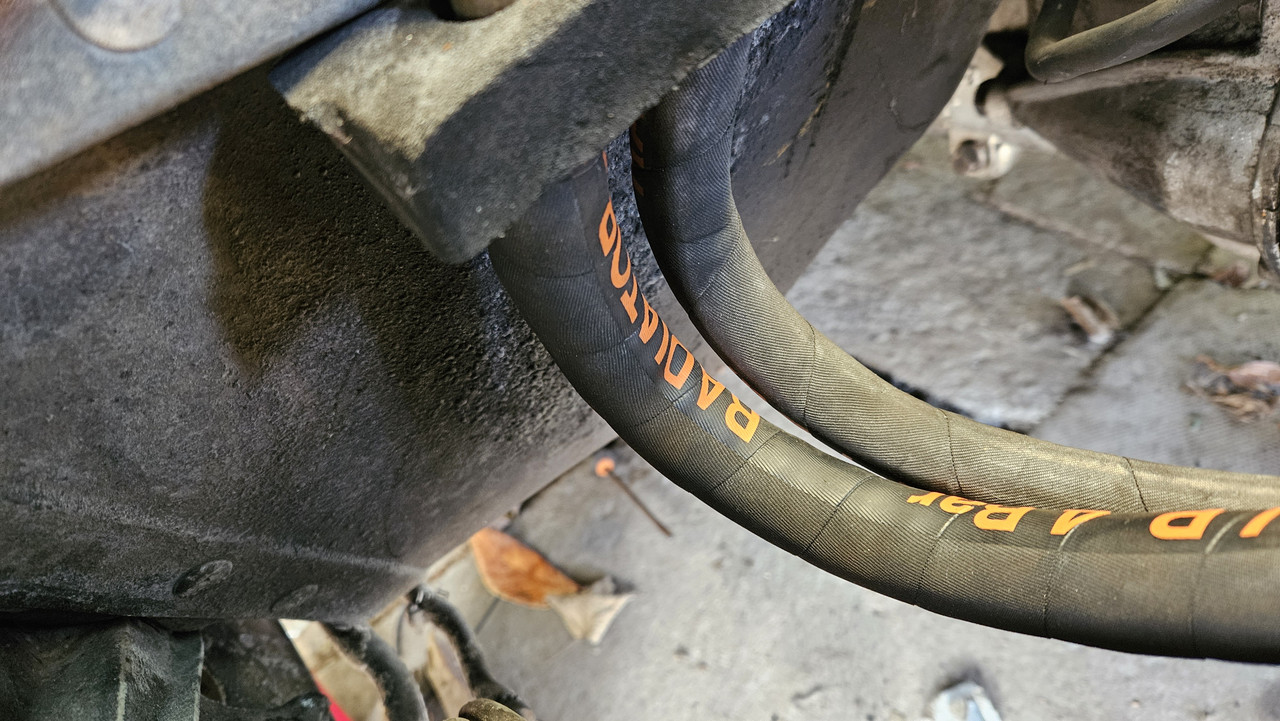
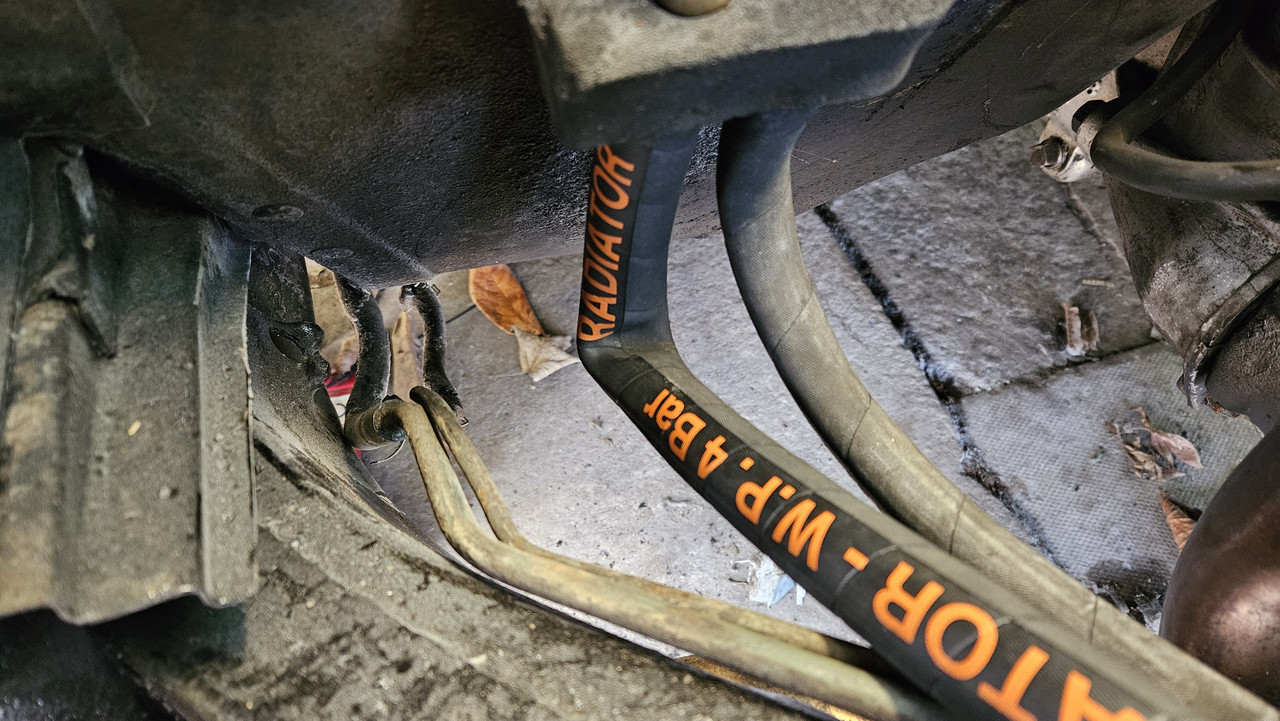
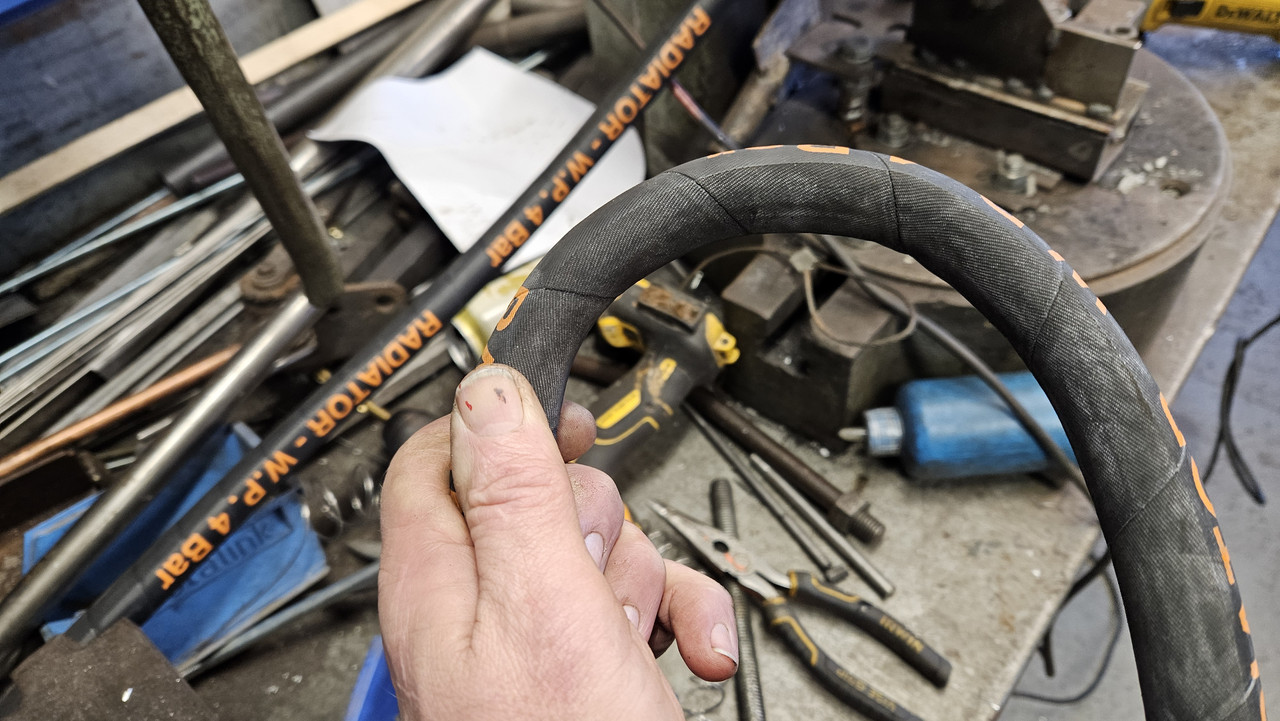
I ordered some new heater core hoses and one is a weeee bit short but does the job. BUT they both work
20250125_134552.jpg


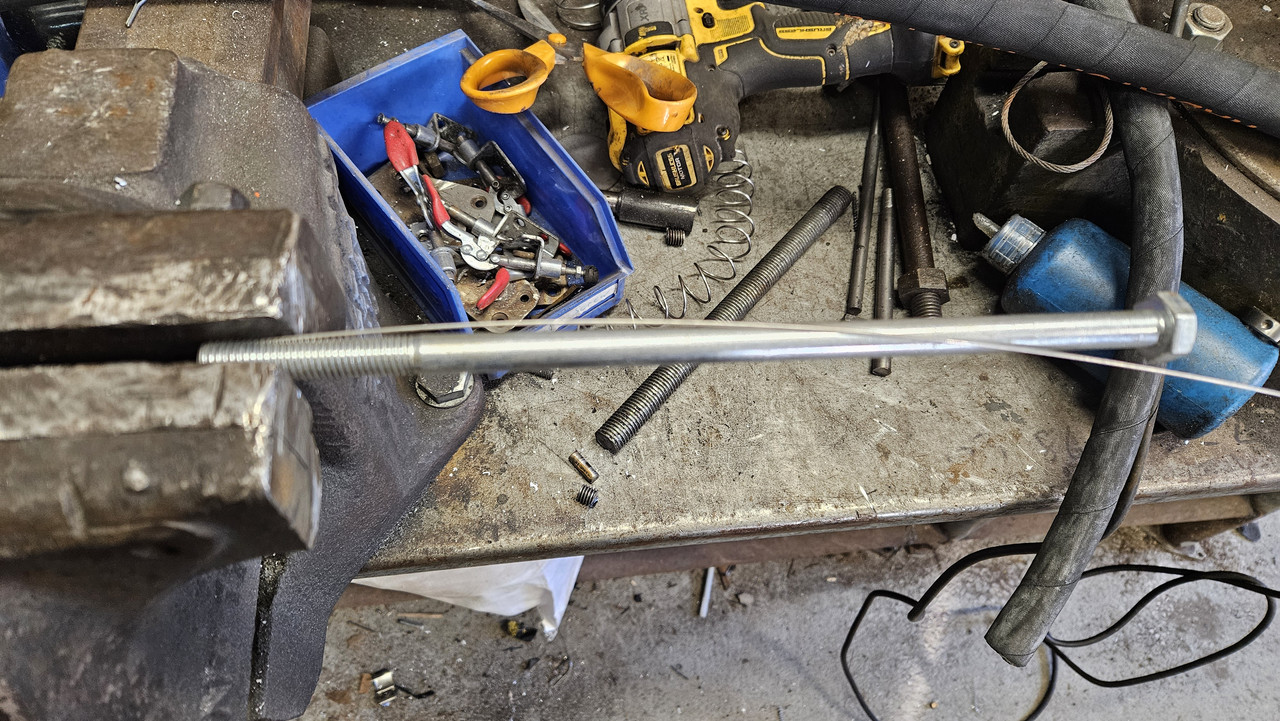
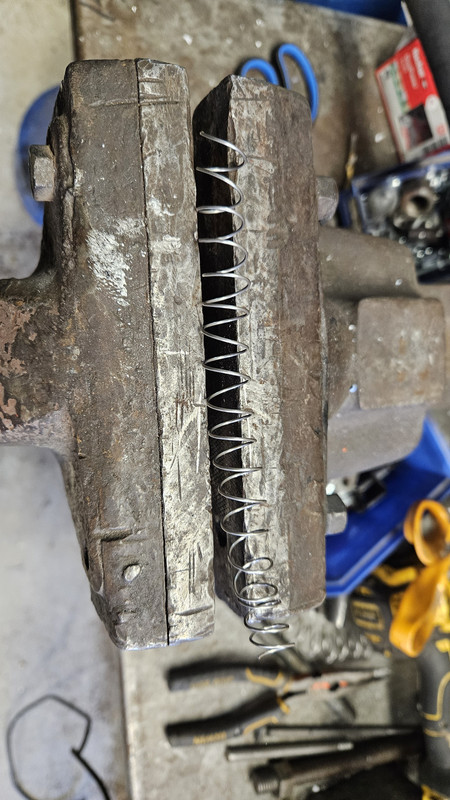
To sort that out i have some Tog rods 316 SS so stuck them in the hose.

A couple of trials to getg the correct diamter needed but it disd the trick
20250125_133754.jpg


I was going to do a better job ino the Lathe but no point for this job.
20250125_134031.jpg


Got as good tight fit and there we go, problem solved.
20250125_134141.jpg


20250125_135241.jpg


20250125_135246.jpg


This was the fettle for the HT lead holders, just a bend in the brackets to aise them away rom the headers, a good 30mm clearance now.
20250126_151800.jpg


As said though i need to make the new leads, the ones i have work but are way to short., maybe the way the holders hold them but even without as you will see there no good.


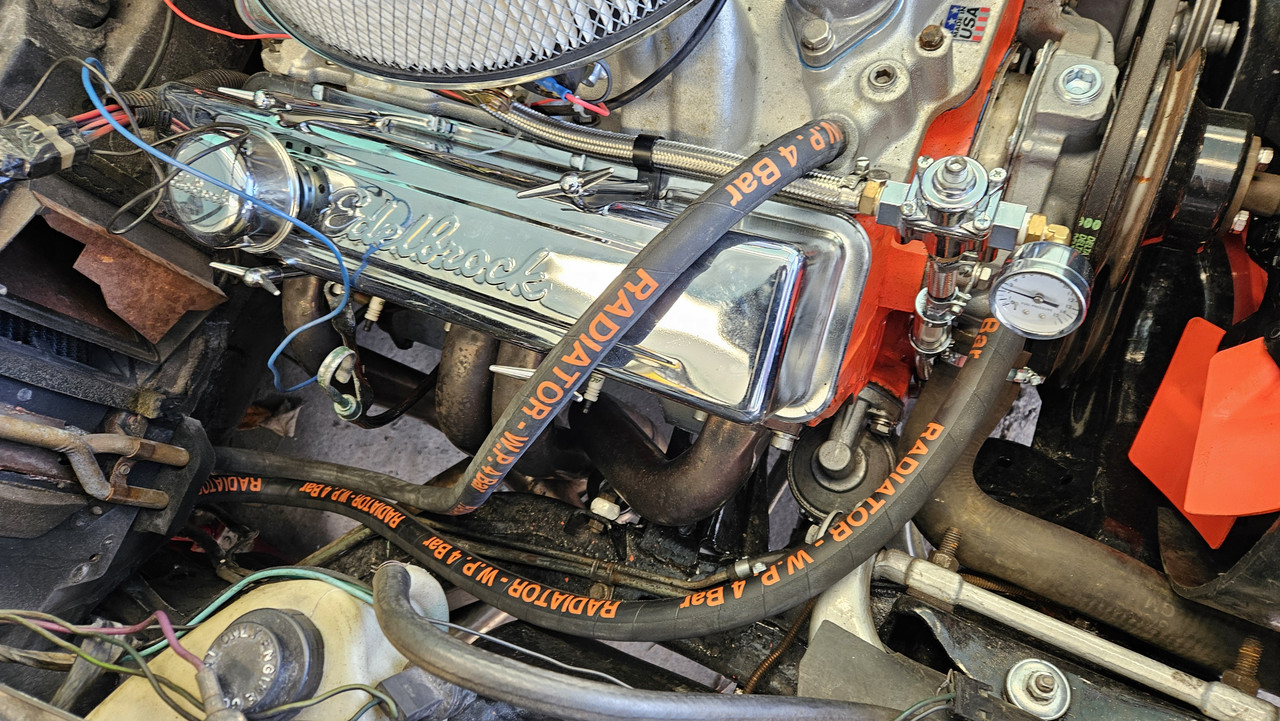
Oh and fitted the fuel lines, with pressure gauge.
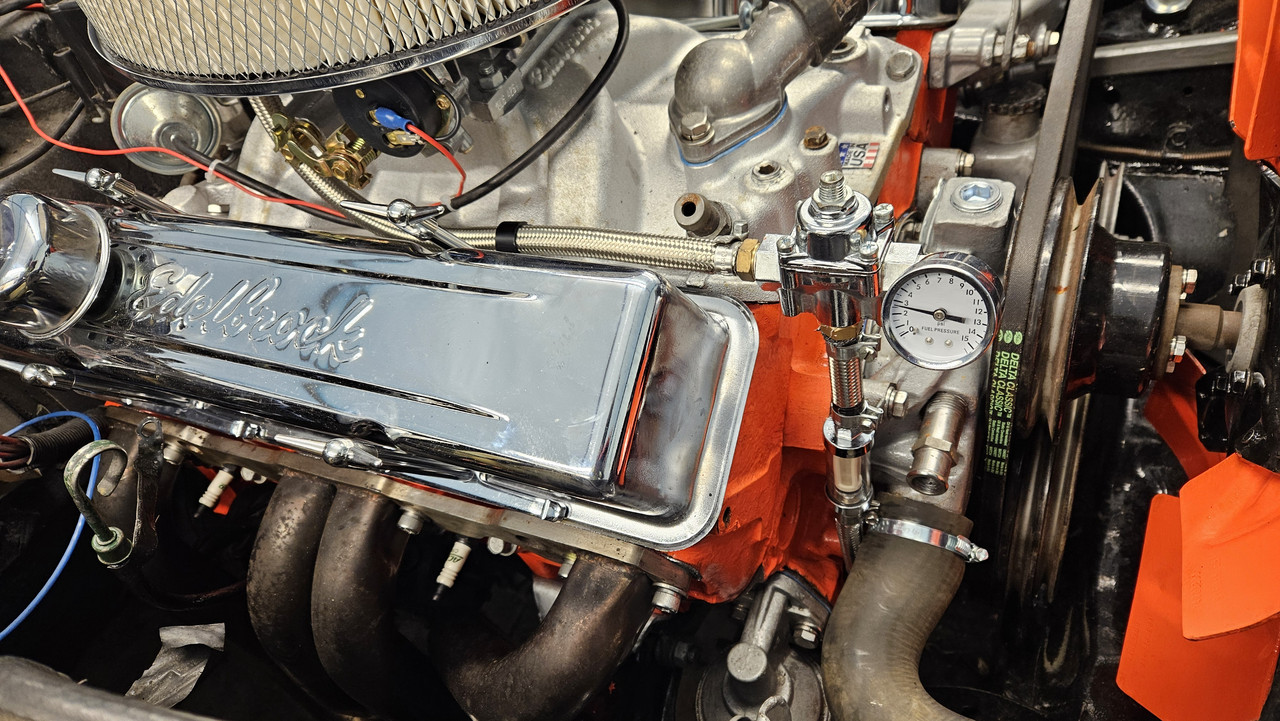
20250124-153253.jpg


The spark plugs for me, were a little close to the headers so i got a set of shorty ones. And what a ball ache the plugs are to fit. i found it easier to do all the rest of the work that fit them.
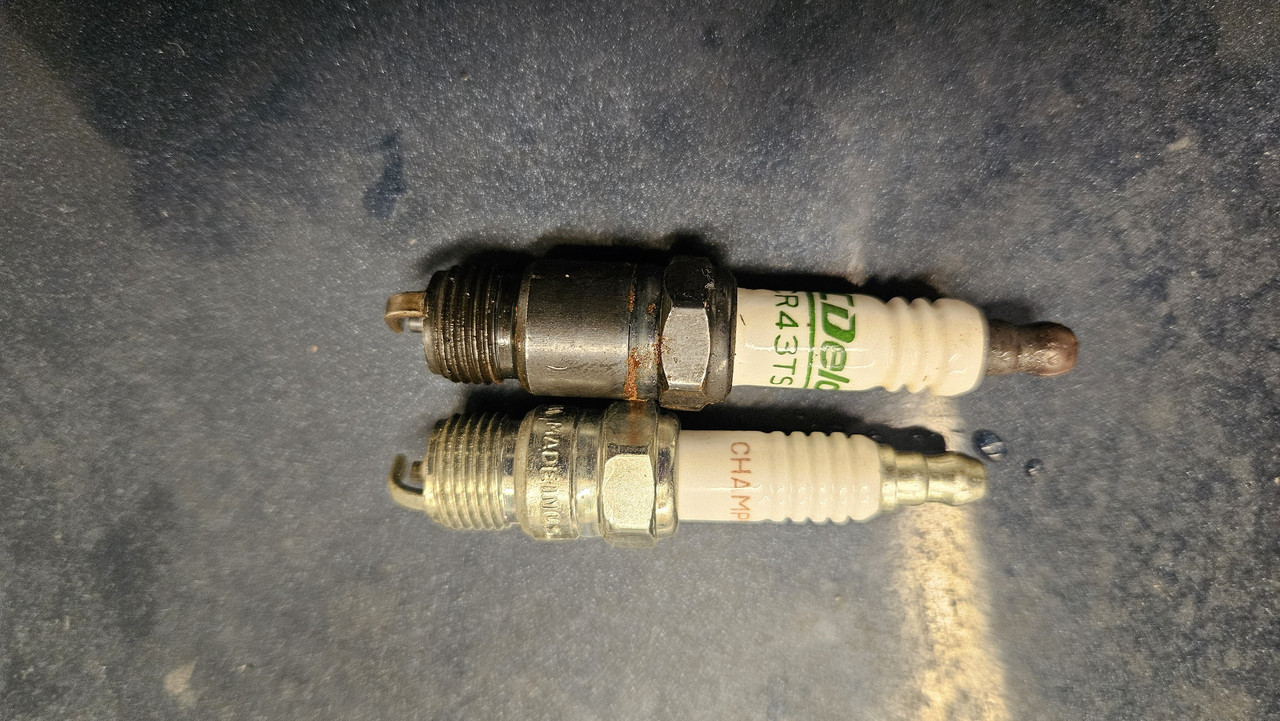
20250130-191213.jpg


The difference in the Dizyy caps aswell as the connectors. the ones on the left are what i needed.
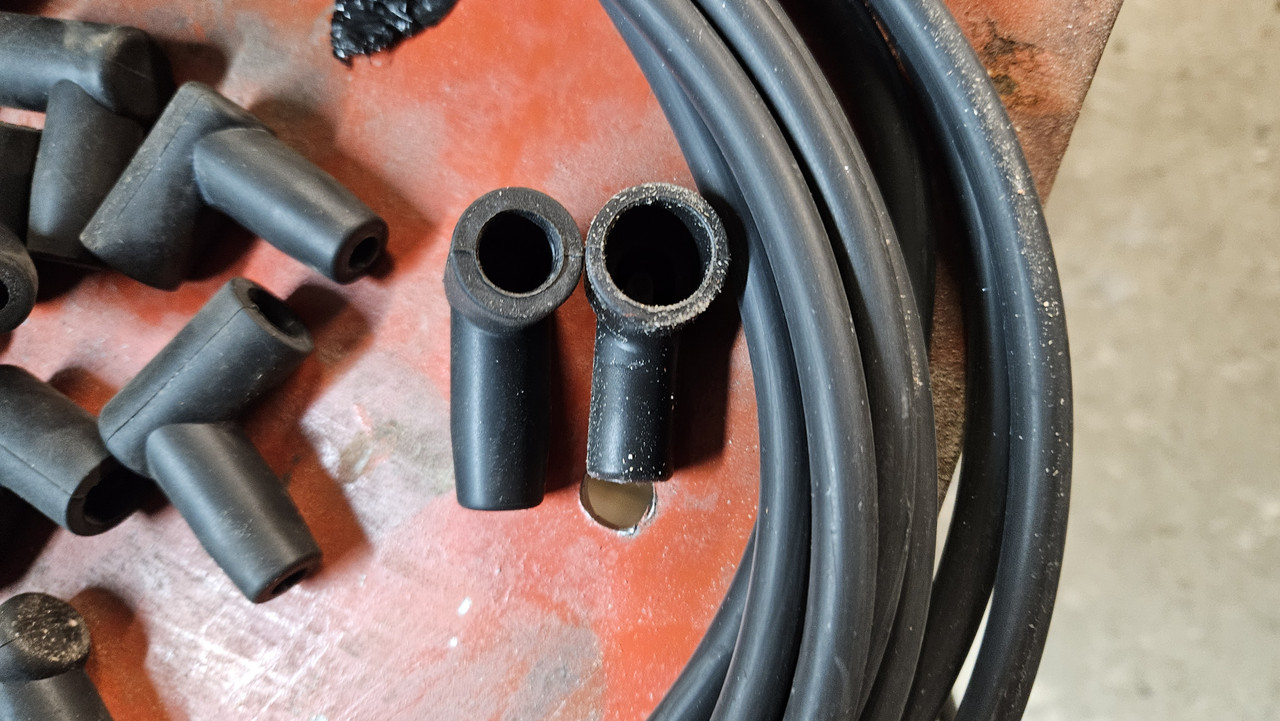
20250130-192506.jpg
 

johng

CCCUK Member
It's very hard to avoid a dose of while-I'm-at-it-itis. :) I wouldn't weld up the exhaust boss yet, you might need it to get your carb set up right.
 

Waynio

CCCUK Member
It's very hard to avoid a dose of while-I'm-at-it-itis. :) I wouldn't weld up the exhaust boss yet, you might need it to get your carb set up right.
I havnt done that, just bunged it up.

Anyway, here we are now as of yesterday. and today


Ok i am that giddy and now having a few ciders to celebrate. just a few mind you ;)

When i first fired it up, my god it was loud, way to loud and cacked myself as i hadnt fit the mufflers. Although it fired on second go with priming the carb twice to get the fuel up to the carb. sooooo over the moon, then there was a loud tinny noise coming form the engine....somewhere. I checked the header, side it was coming from. then scratched my head a few times. Cant be the clutch or fly wheel as nothing changed when pressing the clutch.

Then in the end, brain wave. its from the bell housing, cant be the flywheel or starter motor, not correct sound. So only tinny thing is the bell housing cover.

So i removed it to find a slight rubbing mark on it on the drivers side., and ding dong there we go. all fixed.


Once fettled its now great. to say i did it the old school way. No degree wheel, just set to TDC using plug hole 1 to level the piston. set the lifters to level, as its a standard cam, as far as i know.
I found a bit to late my timing gun is not working so ill get a new soon to tune it up better.


I found the problem last night. it was just the bell housing cover rubbing on the flywheel. Odd as from what i coukld see it has a good distance from it.

This was the last run on near tick over. needs a couole hunderd knocking off yet. sat at 900rpm now. Just trying to find the `correct` rpm on tick over . Ill prob go for 700rpm for now.


It so needed a wash so i got it out in the fresh air. and for me fresh air while its running , it does need a carb tweak as its running rich. different size injectors maybe.


o need the power steering belt, i was late yesterday collecting it. tweak the carb. Sort the hand brake as there not the best as is and i have a new set of cables to fit. ALl to be done before spring so i can enjoy it for a while before i spray it.

but i am sooooooooooooo over the moon. hardly slept last night. all my xmas eves came at once :) :) hey i am 50 but who cares haha
 

CaptainK

CCCUK Member
Congrats on all that hard work. Looks really good.

As an update on my project, I spent a while in my garage again fiddling with stuff and effectively did nothing in half a day (except curse the previous owner for bodging stuff and making my day worse :ROFLMAO:)
 

Waynio

CCCUK Member
Congrats on all that hard work. Looks really good.

As an update on my project, I spent a while in my garage again fiddling with stuff and effectively did nothing in half a day (except curse the previous owner for bodging stuff and making my day worse :ROFLMAO:)
All the fun is in faffing about. its what its alllllll about.
 

Waynio

CCCUK Member
Well its been just over a year since i got it. And not one regret. Probably best car i have had in a couple dozen cars.
Since the last post i have done a few bits.
A few week back the alternator packed in so instead of getting it refurbed i got a new one.

20250713_181420.jpg

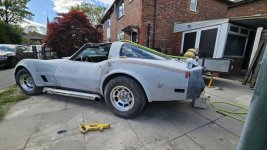
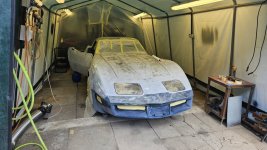
BUT before all that after driving it around for a while i decided i needed to paint it> I was fed up of the bubbles in nearly every panel.

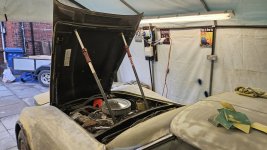
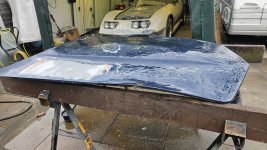
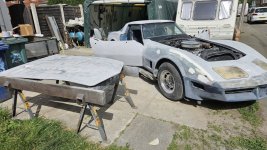
Bonnet had to come off to make it easier for me to sand down.

492004926_10237363639975322_5457424785277839944_n.jpg

491358144_10237363641095350_6361758331145110105_n.jpg

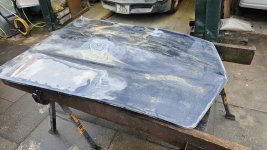
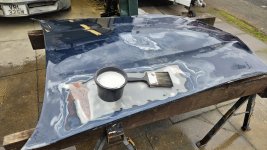
Once i started the bonent i found 24 coats of paint and then decided to have ago with a paitn stripper i had used for years whioch worked well. On this though it didnt at all.

490728538_10237363642615388_1437712236551132944_n.jpg

491395771_10237363643055399_3748906618674088065_n.jpg


491996926_10237363643855419_5873492963951714376_n.jpg
I did three treatments and little at came away.

491965359_10237363644535436_7904709665561488209_n.jpg

So in the end i had to sand it back, 60G and 80G down to 180G etc etc. the bonnet alone took 4 hrs to prep it.
 

Attachments

  • 494358161_10237576783343773_4093418391317287500_n.jpg
    494358161_10237576783343773_4093418391317287500_n.jpg
    200.3 KB · Views: 3
Last edited:

Waynio

CCCUK Member
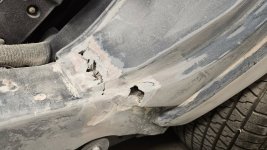
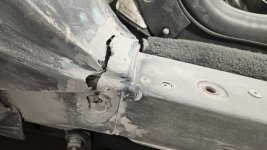
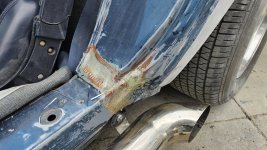
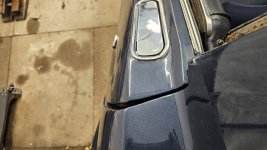
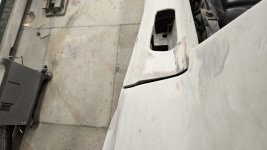
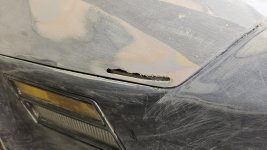
when i was finishing the prep this crack i knew about was one major fettle that was needed.
Both sides.

494199269_10237554960718221_831285932647756200_n.jpg

494565828_10237554962318261_4766253703044139779_n.jpg

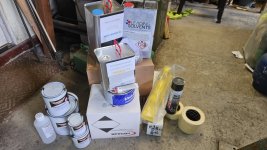
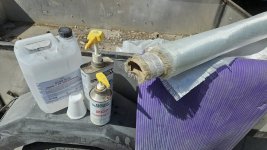
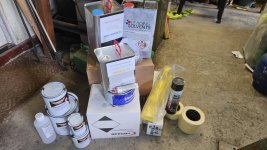
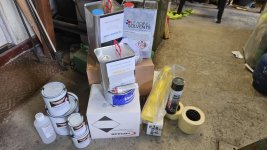
Glad to say i had the materials needed to do it as epoxy isnt cheap and i did need much.

494366436_10237576771583479_1879514102118829210_n.jpg

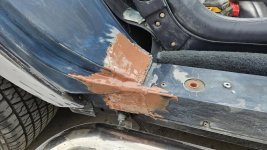
Wetted it out then Bridged it with the woven

495271389_10237576773183519_9083140085686940357_n.jpg

Then applied the epoxy/filler

494951956_10237576774343548_4481843347520853485_n.jpg

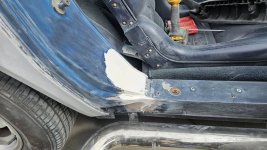
Then sanded back and faired in with Gold filler.

495306621_10237604582238728_1563910440061421091_n.jpg

So nearly done BUT for

494582607_10237604464595787_8420905537394399596_n.jpg

mooooor prep :(
 

Attachments

  • 494358161_10237576783343773_4093418391317287500_n.jpg
    494358161_10237576783343773_4093418391317287500_n.jpg
    200.3 KB · Views: 4

Waynio

CCCUK Member
The next thing i almost forgot to mention was this was annoying me somewhat. The D/S door was inset a bit to much fr me.


495017067_10237554951477990_5347523106147988615_n.jpg

This was where i just had enough epoxy filer left.


495162203_10237554956718121_8855867904369920608_n (1).jpg

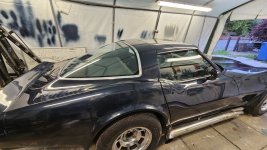
When prepping i found the door to be a donor door as the original base colour was red. not that it mattered now.
495311770_10237554954918076_6904269781681853525_n.jpg

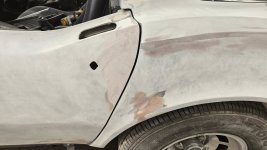
I got a bit carried away with sanding so i had to fettle few areas. Couple of repairs like crack in the P/S wing.
20250419-102714.jpg

495178887_10237604580878694_1205434099370097402_n.jpg
494358161_10237576783343773_4093418391317287500_n.jpg

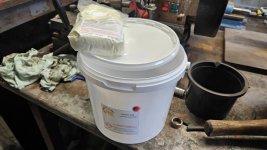
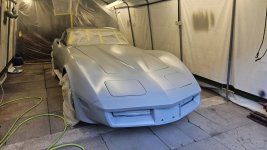
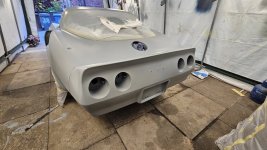
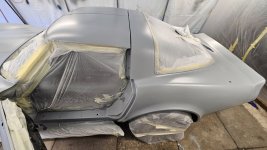
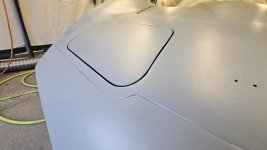
For the primer as i went back to the GRP i used an epoxy primer Rustbuster custom epoxy primer is the stuff.

After some toing and frowing between grey and original blue i decided to go with original so took the fuel filler cap top the paint shop for 4l of top and 5l clear
 

Chuffer

CCCUK Member
Good to hear you are enjoying your C3 despite all the work needed . I would be a bit worried about what caused that horrendous bodywork crack though ! Is the Chassis straight ? or a jacking point mishap or body mounts giving way ? Like the Acro Prop hood supports though , are they a modification available from Corvette specialists ? :ROFLMAO:
 

Waynio

CCCUK Member
Good to hear you are enjoying your C3 despite all the work needed . I would be a bit worried about what caused that horrendous bodywork crack though ! Is the Chassis straight ? or a jacking point mishap or body mounts giving way ? Like the Acro Prop hood supports though , are they a modification available from Corvette specialists ? :ROFLMAO:
It was the main concern, well that and the cage. All good though. And yep loving the car. use it as mcuh as possible, not one to own a car and not use it when not working on it.
Even my fishing gear fits in it :)


For a first attempt its not bad.
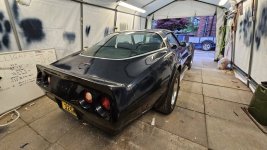
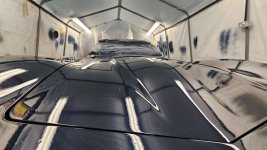
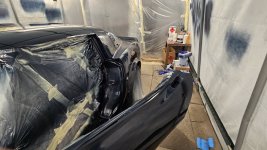
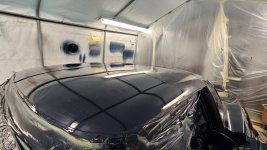
All ready to go, garage prepped, just area to wet down, and that fan on the lower left was not much use. i got a large air mover from work and used that to extract.
496175434_10237670990538894_8179140579884853700_n.jpg


496186243_10237687456430531_8724526763668124911_n (1).jpg
496846539_10237687467270802_2552911802199240473_n.jpg496846588_10237687464310728_1710315860621754839_n.jpg

Bit more prep will be needed here, bit to much applied.

496922519_10237687459470607_1545233601580429204_n.jpg

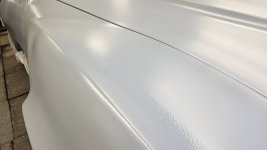
So there was another few hours prep here before basecoat is done. It sands fairly easy aswell for epoxy paint. 350G and 500G was used on this then 1000G. one of the small areas needing filling. overall the body really wasnt to bad. old repairs shown up where the repair wasnt done to well so redone them. in epoxy to be sure.

496216093_10237687465070747_1965728096188719138_n.jpg
 

Attachments

  • 496216093_10237687465070747_1965728096188719138_n.jpg
    496216093_10237687465070747_1965728096188719138_n.jpg
    121.1 KB · Views: 1
Top